

Hi everyone!!! Welcome to blog post number 2. 🙂
On this post, I’ll share with you how I create one of the items I love to make, our Canvas Iron-On Tote Bags. In case you don’t know, I sell these in my shop and they come in different colors and designs. I’ll make sure to share a few finished creations at the bottom of this post if you want to check them out. 😉
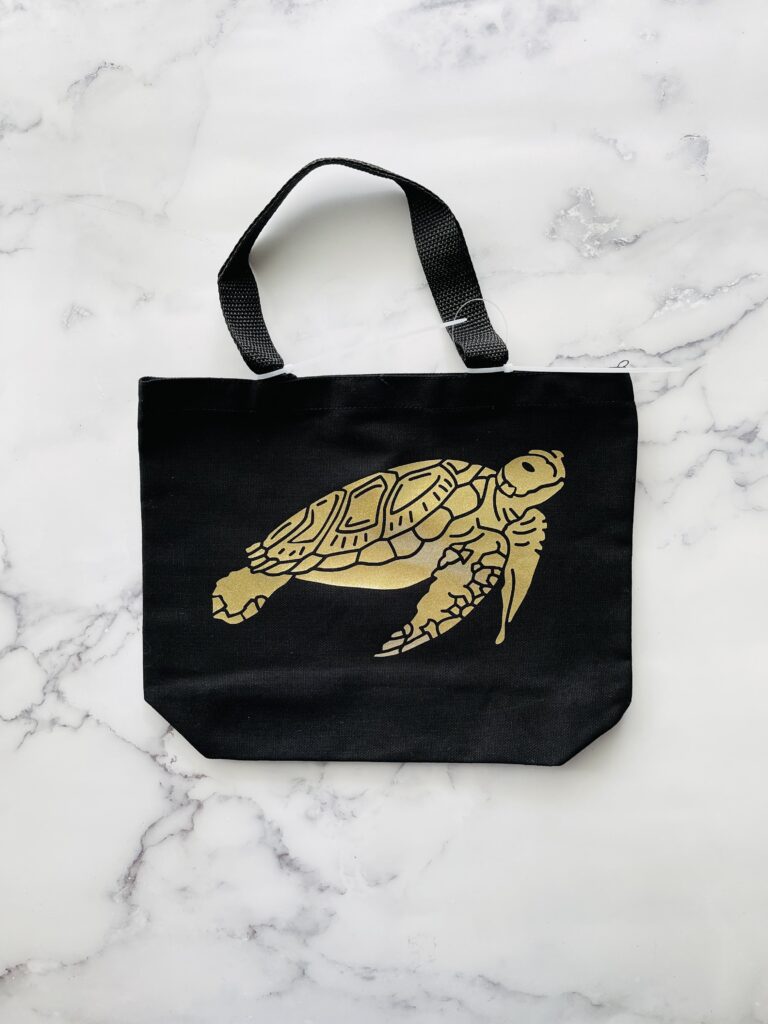
For the purpose of this post, I’ll show you the black tote bag with metallic gold heat transfer vinyl turtle print.
Feel free to bookmark this page, in case you need inspiration for future.
Are you ready? Let’s get started…
First things first, here’s the list of TOOLS & MATERIALS you need to complete the project.
- Cricut or any cutting machine
- Cutting Mat
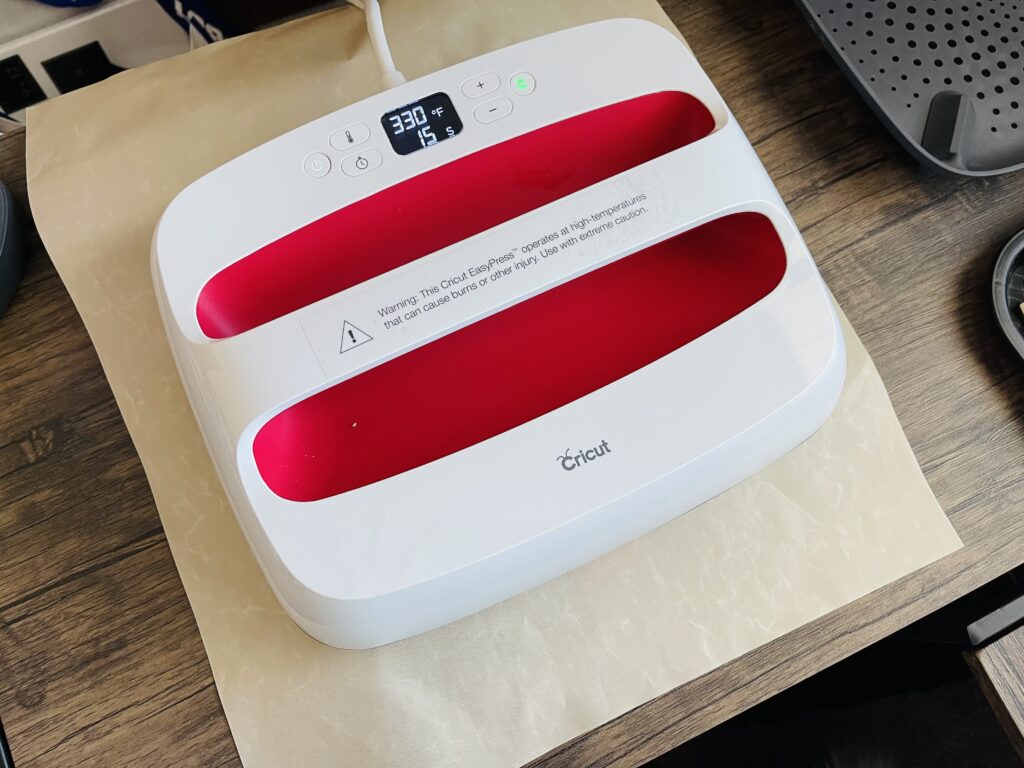
- Heat Press
- Heat Press Mat
- Teflon Sheet
- Weeding Tool
- Lint Roller
- Heat Transfer Vinyl (any type or color)
- Blank Cotton Canvas Tote Bag (any size or color)
- Design
The struggle I have every time I create a new project is picking the right design. I always second guess myself and sometimes question if somebody would ever love my work that they’ll buy it. But I always go for what my heart tells me, makes creating fun and fulfilling. 🙂 So pick one that speaks to you if you ever decide to make your own.
I personally enjoy weeding vinyl, especially those ones that take hours to finish. By the way, weeding vinyl is the process of removing unwanted vinyl from the cut design. This process is really a very relaxing activity in my opinion. Let me know if you feel the same when you get the opportunity to try it.
Don’t get intimated, I picked the simple turtle mandala design for this project. 🙂
CUTTING THE DESIGN:
I’m not going to cover how to use the cutting machine here, that will be a story for another time. I do have a Cricut Maker and I would recommend you watching Jennifer Maker’s YouTube videos if you’ve never opened yours or planning to buy one. It’s really a good resource for beginners, that’s where I learned as well. 🙂
WEEDING VINYL & APPLICATION OF DESIGN:
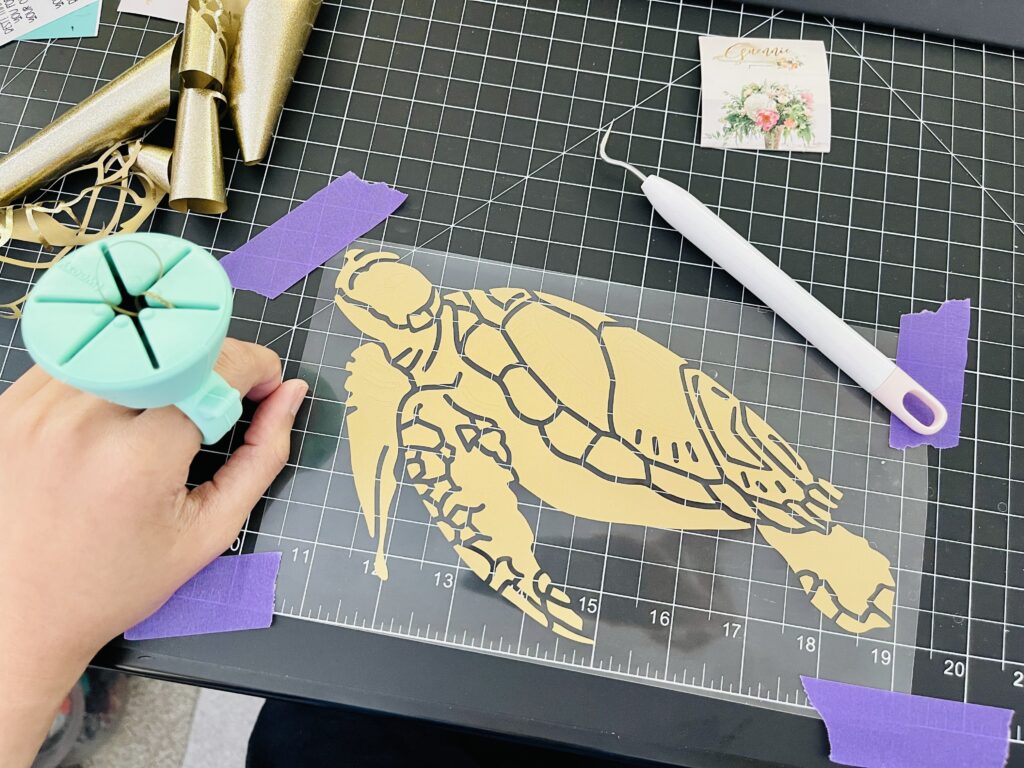
After cutting the simple turtle mandala design, I immediately started weeding! Argh! I forgot to take a photo of the un-weeded turtle (#facepalm). I got super excited, I guess. My photo below shows a partially weeded design. The silicone ring I am wearing in my left hand is a time saver. That’s where I placed all the tiny unwanted vinyl pieces when I’m weeding. And the tiny hook pen-like shape is the weeding tool.
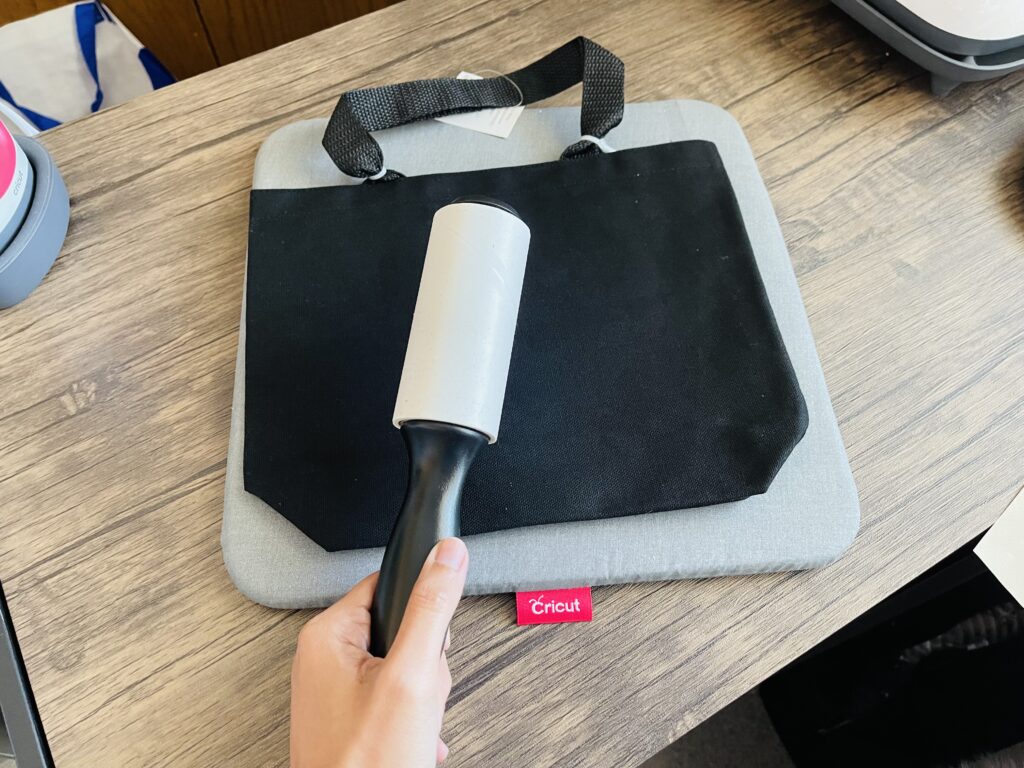
Once all the unwanted vinyl is removed, I preheat my EasyPress and start prepping the blank canvas. What does that mean? That means removing lint from the bag using a lint roller and then preheating it for 5 seconds without the design to remove any moisture in the canvas.
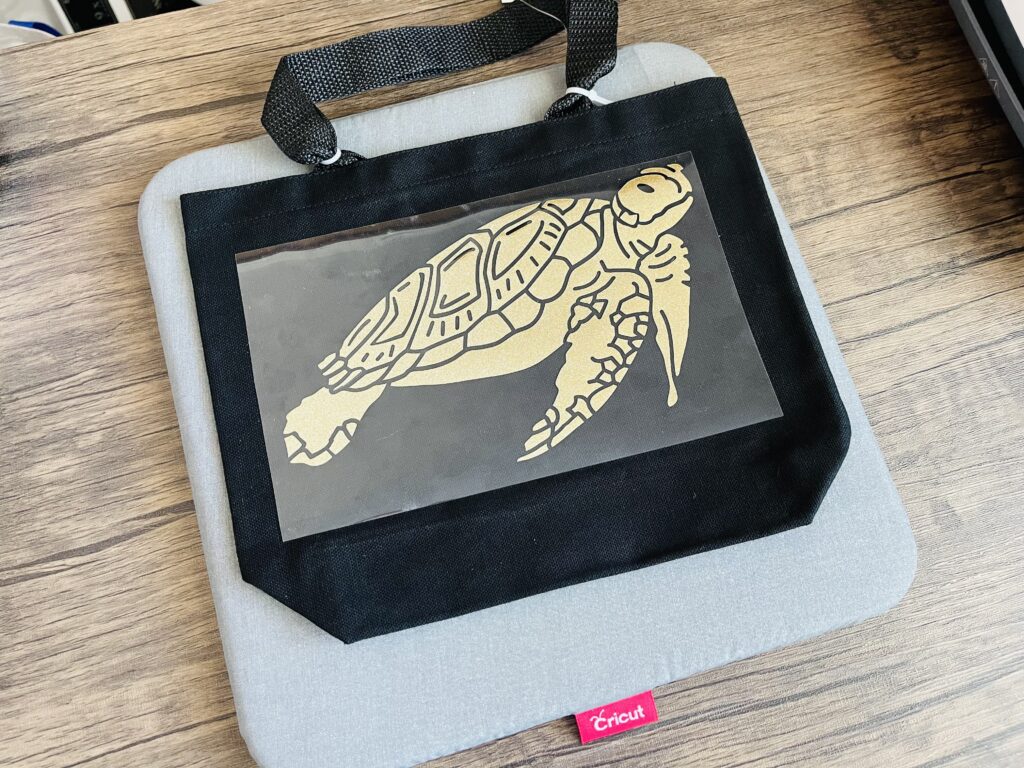
Now time to apply the design on the canvas. I make sure the design is centered or it is where I wanted it to be. Most of the time eyeballing works flawlessly. 😉 Take note, you are the creator so you can do whatever your heart desires.
I press my projects based on the recommended heat setting of my heat press and materials. Cricut have a handy-dandy guide online. For what I’m using in this project, I’m pressing the design with light pressure at 340F for 30 seconds. Then I flip the bag over and press for another 15 seconds.
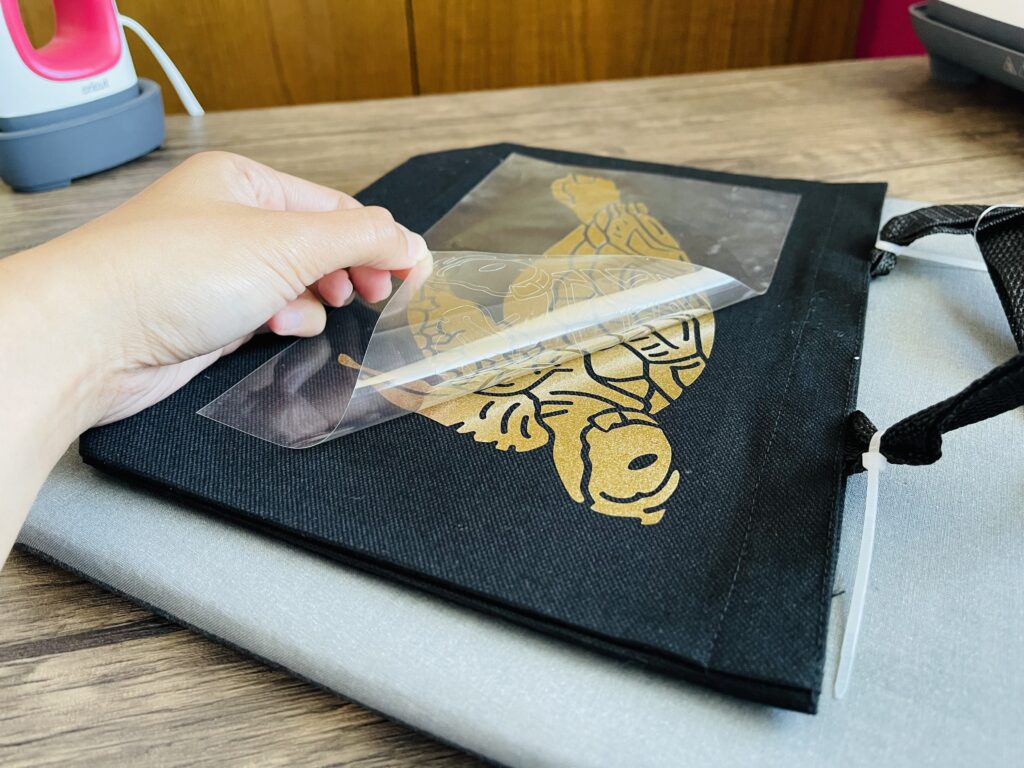
When the liner is cool to the touch, I slowly peel it off. Take note, slowly. I also get so paranoid of the design coming off from my blank material, in this case the tote bag. So I take this extra step of heat pressing the design one more time for a few seconds (5 seconds or so) without the plastic liner to ensure the vinyl is fully adhered to the bag. 😉
Here’s the fully finished bag! What do you think?
Hope you enjoyed some of my behind the scene photos. As promised, here are a few of what I have available in the shop.
Until next time. Bye!